My blog has been moved to ariya.ofilabs.com.

Tuesday, February 22, 2011

vim: fast file navigation with Command-T

Judging from the hits, my blog post on lightning-fast project navigation in vim seems to be still popular. While the Project script is still my favorite these days, especially when dealing with hundreds of files, let me show you here another gem: Command-T script.

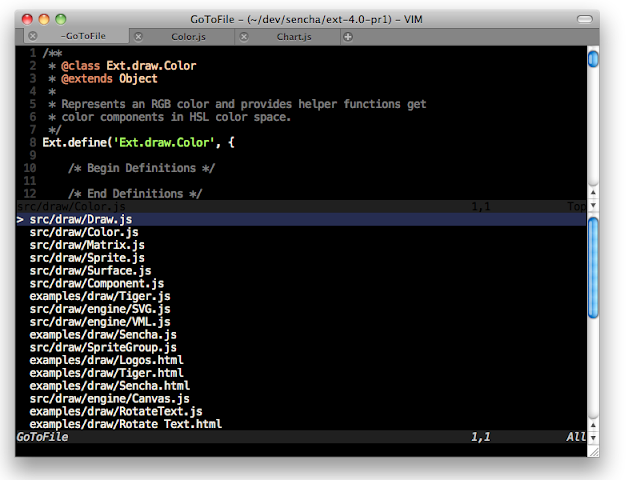
Similar to Command-T in TextMate, basically this Command-T script allows quick and incremental search for files. This works very well. The official site for Command-T has several good screencasts which demonstrate how to install and set it up.

Manual installation is fairly simple. In fact, if you use Janus (which what I strongly do recommend these days for vim lovers), you are already set.

Command-T's documentation is quite extensive, make sure you read it. For the impatient, here are three important tidbits.

(1) Command-T requires vim with Ruby support. One way to find this is:

vim --version | grep '\+ruby'

(2) The default binding is Leader-t. For MacVim (or other GUI-based vim on Mac) and you'd like to have it on your Command-t (or D-T, in vim's terminology), just insert the following in your .vimrc:

  if has("gui_macvim")
    macmenu &File.New\ Tab key=
    map  :CommandT
  endif

(3) If you like to open the selected file in a new tab, hit Ctrl+T instead of just Enter.

One side note: if you have MacVim but don't have the mvim shortcut, add this to your .profile (or .bash_profile):

alias mvim='/Applications/MacVim.app/Contents/MacOS/Vim -g'

This way, you can launch MacVim from terminal, e.g. mvim code.js.

And in case you still want to use TextMate, why don't you check out TextMate2 instead?

Monday, February 21, 2011

color wheel on Canvas

While I played with HSV pie and color wheel before, usually I just use the excellent Qt graphics stack to try out various things. This days, I lean towards using web technologies and for that purpose, HTML Canvas suits me just fine. With PhantomJS, I even got the result rendered as PNG image.

The new example I added to PhantomJS is colorwheel.js which produces the above screenshot. The entire script code is as follows (if some parts look cryptic, read about HSL and HSV color space):

if (phantom.state.length === 0) {
    phantom.state = 1;
    phantom.viewportSize = { width: 400, height : 400 };
    phantom.content = '<html><body><canvas id="surface">' +
        '</canvas></body></html>';
} else {
    var el = document.getElementById('surface'),
        context = el.getContext('2d'),
        width = window.innerWidth,
        height = window.innerHeight,
        cx = width / 2,
        cy = height / 2,
        radius = width  / 2.3,
        imageData,
        pixels,
        hue, sat, value,
        i = 0, x, y, rx, ry, d,
        f, g, p, u, v, w, rgb;

    el.width = width;
    el.height = height;
    imageData = context.createImageData(width, height);
    pixels = imageData.data;

    for (y = 0; y < height; y = y + 1) {
        for (x = 0; x < width; x = x + 1, i = i + 4) {
            rx = x - cx;
            ry = y - cy;
            d = rx * rx + ry * ry;
            if (d < radius * radius) {
                hue = 6 * (Math.atan2(ry, rx) + Math.PI) / (2 * Math.PI);
                sat = Math.sqrt(d) / radius;
                g = Math.floor(hue);
                f = hue - g;
                u = 255 * (1 - sat);
                v = 255 * (1 - sat * f);
                w = 255 * (1 - sat * (1 - f));
                pixels[i] = [255, v, u, u, w, 255, 255][g];
                pixels[i + 1] = [w, 255, 255, v, u, u, w][g];
                pixels[i + 2] = [u, u, w, 255, 255, v, u][g];
                pixels[i + 3] = 255;
            }
        }
    }

    context.putImageData(imageData, 0, 0);
    document.body.style.backgroundColor = 'white';
    document.body.style.margin = '0px';

    phantom.render('colorwheel.png');
    phantom.exit();
}

Beside the above example, there are few other things which you'll get in the upcoming PhantomJS 1.1 release, among others support for Unix shebang, file upload for form submission, disable/enable images loading and plugins, as well as support for QUnit integration.